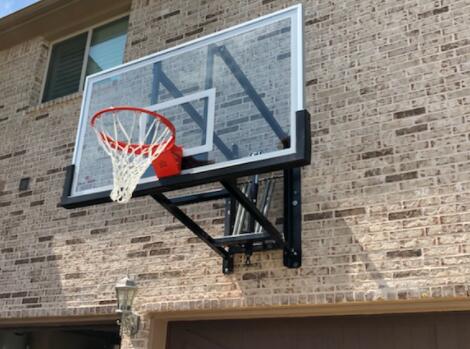
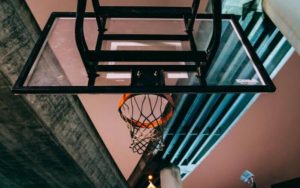
Basketball is one of the most refreshing sports that one can play. To install a wall mount basketball hoop is not as easy as it sounds whether you want to in the house, on a wall, or in the garage.
In the first goal, you will need to have the necessary equipment and then you can follow the rules and regulations given by the Sports Authority of your area for a suitable length. But this is not it.
In this article, you will learn about the things that you need to consider before installing a wall mount basketball hoop, plotting the most appropriate location for it, the necessary equipment that you will need, the steps taken to install it, and finally some other tips to remember while working with the wall mounted basketball hoop.
Just keep reading this article to go through all these steps with us one by one.
What to Consider Before Installing?
The most appropriate thing you need to consider before installing a wall mounted basketball hoop is the selection of the right place to drill it in. Then check the surface of the wall if it would bear drill or not. You also need to see the space that you will have to play basketball and also see for anything around that can possibly hurt you while playing.
Plan your location:
In this entire procedure, probably, location is the thing that forms the basis and the mood of playing basketball. Therefore, it is necessary to cleverly choose the location for installing a wall mounted basketball hoop.
The main feature of the location should be the peace so it needs to be away from any other distraction that might deviate the attention of the players who are playing basketball. Secondly, the ground surface should be compatible with playing basketball on it.
Tools needed:
Once the location for setting up the wall mounted basketball hoop is finalized, you can move on to the next step of gathering all the necessary equipment. You can find the list below:
- Lag bolts often come with the wall mounted basketball hoop but if they are not there you can either get them separately or use nuts.
Set of sockets or a set or wrenches. - Drill machine.
- Ladder or any other helping material to help you reach the 15-foot height.
- A stud finder is highly recommended.
And before making any purchase for the above-mentioned equipment for installing the wall mounted basketball hoop, you need to check if these tools are compatible with your basketball hoop. If these specs match, then you are good to go.
How to Install a Wall Mounted Basketball Hoop?
The best place where you can install a wall mounted basketball hoop is an unfinished garage because it is easy to find studs in it that you can use easily to center your hoop wherever you wanted. But if you are willing to install your wall mounted basketball hoop on any side of your house then you will need to find a stud finder for installing the basketball hoop safely in the frame of the stud.
If you are working on a wall made up of bricks then it is better not to use the lag bolts. In place of lag bolts, you can use suitable sizes of concrete anchors.
After keeping all the things in place, you need to drill on the selected place. Once the lag bolts are drilled into the stud, you will try drilling another hole that is the pilot hole in order to reduce the possibility for the stud to split.
Although many of the new studs have already installed backboard and rim, but if they are not installed and come in various pieces then you will need to adjust it with the bolts.
Tips to Note:
To make things last for a longer time you need to give them some extra time during the installment. Once you are done with installing your wall mount basketball hoop by drilling and adjusting its pieces, you still need to recheck if all of the pieces are tightened else you will need to tight them by yourself again, so that they will not fall apart.
Also, make sure in the initial stages that the adjustable function of the basketball hoop is working properly.
Conclusion:
A wall mounted basketball hoop is fun to install with a few easy drillings but you need to consider a few things including the location of installing along with the surface of the wall. Then, you need to consider distance as well. You drill lag bolts into the stud and then adjust the rim and backboard into the studs. Finally, recheck them for tightness and you are good to go.


